

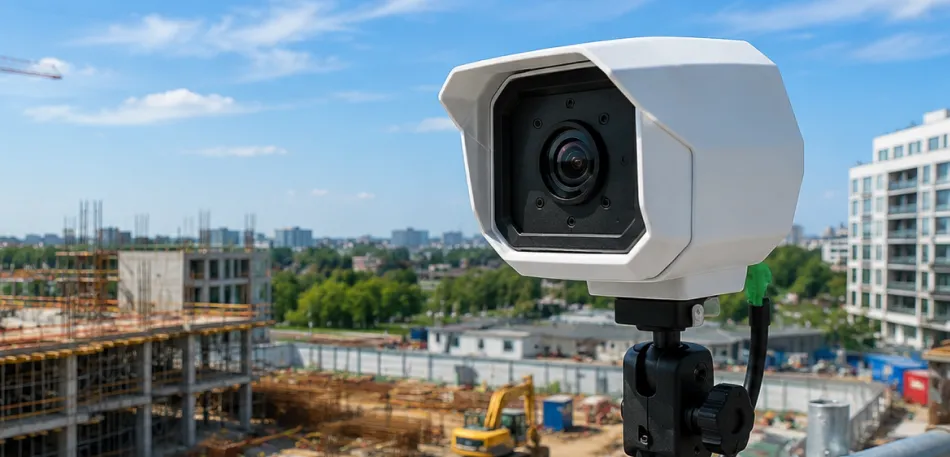
Most construction site managers only think about documentation after something goes wrong. A missed structural stage, a dispute with a client over timeline, or a project review with no visual evidence to show. A timelapse camera changes that completely. The best timelapse camera for construction does more than record footage; it gives you a continuous, timestamped visual record of an entire build from day one.
Here is how to actually set one up and what to think about before you mount anything.
Choosing the Right Location for Your Construction Site Monitoring Camera
Position matters more than the camera itself. A poorly placed unit, even a high-spec one, gives you blind spots and unusable footage.
Start with the perimeter. You want the camera mounted at an elevated point that captures the largest unobstructed view of the active build area. On most sites, this means a scaffold tower, a permanent boundary wall, or a purpose-built mounting pole. Height is your friend here. Aim for at least 6 to 10 metres above ground level if the structure allows it.
Avoid pointing the lens directly into the sun’s path. East-facing cameras catch harsh morning glare; west-facing units get the afternoon blast. A north-facing or angled position tends to produce cleaner footage with consistent exposure across the day.
If the site spans multiple zones, two units positioned at diagonal corners often give better coverage than one central camera.
Power and Connectivity: The Part Most People Underestimate
A lot of construction sites sit far outside standard grid connections, especially in the early build phases. This is where solar-powered construction cameras earn their place. A solar-enabled system with an onboard battery eliminates the need for cable runs across an active site, removing a real safety and logistics headache.
Rawadh’s Binalapse system, for example, is built with solar and 4G connectivity specifically for remote locations, so recording continues without interruption regardless of local infrastructure.
For connectivity, 4G SIM-based systems are the practical choice on most sites. They push captured images directly to cloud storage without needing a physical network connection on-site. Check signal strength at your intended mounting location before you commit to a position. A dead spot 8 metres up a scaffold tower is an expensive problem to fix.
Setting Up Capture Intervals and Image Quality
The interval between each captured frame determines how useful your final timelapse footage is. Too frequent, and you fill storage fast with minimal visual change between frames. Too infrequent, and you miss meaningful progress moments.
For most builds, an interval between 5 and 30 minutes works well. Faster-moving phases like structural steel installation or concrete pours benefit from shorter intervals. A 10-minute capture cycle over a 12-month build produces a manageable archive while still generating a compelling timelapse video at the end.
The resolution is worth paying attention to. High-resolution images give you the ability to zoom into specific areas during image comparison reviews. Binalapse captures high-resolution images over time and converts them into professional timelapse videos, with remote access and secure cloud storage built into the system. That kind of output is practical for client reports, project presentations, and internal milestone tracking.
Remote Access and Monitoring During the Build
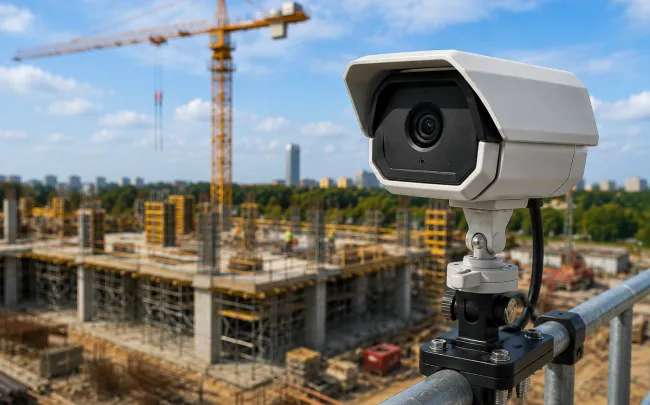
Once the camera is installed, the monitoring workflow matters as much as the hardware. The best setups give site managers, clients, and project owners access to live footage and historical captures from anywhere, without needing to visit the site.
Any reputable construction company managing large-scale projects across multiple cities understands why remote visibility matters. Cloud monitoring systems allow you to access your project anytime with secure cloud storage and remote viewing features, which is particularly useful when a Riyadh-based project owner needs to review progress on a Jeddah site without travelling.
Rawadh operates timelapse camera solutions across Saudi Arabia and the UAE, with the UAE branch, Rawadh Al Bina Info Tech, supporting clients across the Middle East with fast deployment and local technical assistance.
The core tools worth using during a project are image comparison, live view for real-time site oversight, and automated timelapse video generation for reporting.
Weather Protection and Long-Term Durability
A timelapse camera on a construction site faces a lot. Dust, sand, rain, temperature swings, and the occasional site vibration from heavy equipment. Weather-resistant housing is not optional for anything beyond a short indoor project.
Binalapse is designed with a weather-resistant build for consistent performance in demanding environments, which matters on sites across Saudi Arabia and the UAE where dust and heat are constant variables. Check that whatever system you choose has an IP rating suitable for outdoor, dusty conditions. IP65 is a reasonable minimum for most Gulf region sites.
Secure the mounting bracket properly. Construction environments vibrate. A camera that shifts a few degrees mid-project produces footage that is difficult to use for comparison or analysis.
Final Thoughts
Setting up a timelapse camera on a construction site is not complicated if you plan the placement, power, and connectivity before installation day. The footage you collect over a build period becomes a record that serves multiple purposes: client transparency, dispute resolution, project marketing, and internal progress reviews.
FAQ
How do I choose the best timelapse camera for construction if I have no grid power on site?
Solar-powered systems are the practical answer here. A camera with an onboard solar panel and battery can run independently for months without any connection to site power. Pair it with 4G connectivity for cloud uploads and you have a fully off-grid monitoring setup that works from day one.
What capture interval should I use for a construction timelapse?
Every 10 to 15 minutes is a solid starting point for most builds. Faster-paced phases like concrete pours or steel erection benefit from 5-minute intervals. Slower work like ground preparation can run at 30 minutes without losing much. You can usually adjust the interval remotely through your cloud system.
Does weather damage outdoor timelapse cameras?
Yes, it can, if the camera lacks proper housing. Dust, sand, and heat are serious issues on Middle East construction sites. Look for a weather-resistant unit with at least an IP65 rating and reinforced housing. A good mount that absorbs site vibration also prevents footage drift over long projects.
Can clients watch a construction timelapse remotely without visiting the site?
That is exactly what cloud-based systems are built for. Once the camera is connected via 4G to a cloud platform, stakeholders can log in from anywhere and review live footage, compare images from different dates, or download progress clips for presentations.
How long does it take to set up a timelapse camera on a construction site?
Physical installation on a prepared mounting point takes a few hours. The longer part is planning: identifying the best camera position, testing 4G signal at that height, configuring capture intervals, and confirming cloud storage access. Most professional setups are fully operational within a day.
Leave A Comment